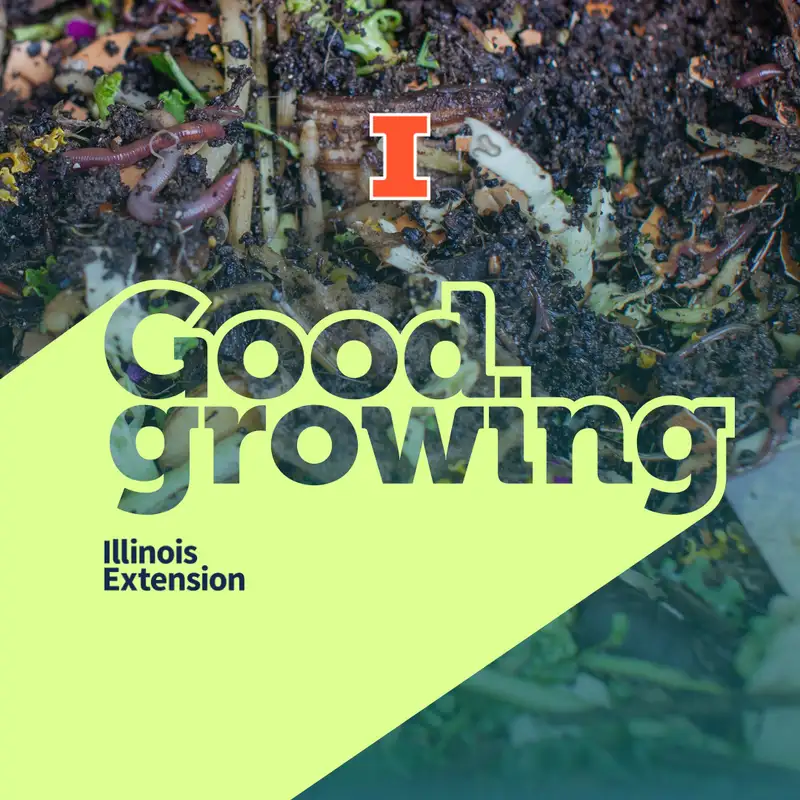
Gardenbite: Composting with worms indoors | #GoodGrowing
Welcome to the Good Growing podcast. I am Ken Johnson, horticulture educator with University of Illinois Extension, coming to you today from Jacksonville, Illinois with a garden bite. And on this week's Gardenbite, we're going to talk a little bit about composting, specifically composting with worms, or vermicomposting. So, now that we've had some really cold weather, sub zero temperatures in much of the state, maybe you're starting to get the itch to go outside, play in the dirt, longing to be able to do that. Perhaps you're thinking about ways you can improve your garden soil, or ways you can fertilize your house plants, things like that.
Ken Johnson:And worm composting or vermicomposting is a good way to do both of these things. So in addition to producing compost, it's also a great way to put those kitchen scraps to use. Or if you made a new year's resolution to eat healthier and you bought a bunch of fruit and vegetables, and you haven't started yet and they've started to go bad, it's another way we can get rid of those when a lot of our compost piles outside have really started slowing down or in many cases probably stop the composting process. So getting started with vermicomposting is relatively easy to do. There are lots of different kits out there that you can buy.
Ken Johnson:They range from maybe $40.50 to a couple $100 depending on how fancy you want to get them. Or you can simply use a plastic storage bin with holes drilled in the side. So a 10 to 14 gallon bin is a good size to start with, make sure you grab that lid that goes along with it, You can then drill half inch holes on the sides of the bin and the lid as well. On the side, want to put those up a couple inches from the bottom a little bit, you don't want those directly on the bottom necessarily. You can also put drill holes directly into the bottom of the bin, but if you do this, you're gonna have to put a tray underneath of it, so any liquid that comes out doesn't get all over your floor.
Ken Johnson:Once you've drilled those holes, you want to cover the holes in window screening so your worms do not escape from there. You don't want your worms crawling all over your house. After you've picked out your bin and gotten that all ready to go, then we need to think about putting a bedding material in our bin. And this bedding should be some sort of non toxic material that's going to hold moisture, but also allows air to circulate so it's not going to compact too much. So some things that are commonly used are going to be things like newspaper.
Ken Johnson:If you're using newspaper, make sure it's not glossy paper. Paper bags, cardboard, again, make sure it's not that glossy cardboard or covered in anything, leaves could be used, coconut core, things like that. So if you're going to be using something like paper, newspaper, something like that, you want to tear that paper into half inch to one inch wide strips, soak that in water for several minutes, remove that paper, wring it out, and it should be slightly wetter than a moist sponge. And this is going to go for any bedding material you use, whether that's paper like we're talking about here, coconut core, cardboard, whatever, you want to make sure that bedding material is moist. So again, for the example we're using here, we're going to use that paper, we're going to fluff up that paper once we've put that in the bin.
Ken Johnson:I want that paper to fill the bin about halfway to three quarters the way, and the worms are gonna feed on that bedding. So we are going to have to add more bedding over time as the worms eat it and break it down. And again, we wanna make sure that bedding is going to be moist, and we wanna keep that moist. So having something like a plant mister is a good way to do this. So have that plant mister by your worm bin and just mist it every once in while to make sure you're maintaining that moisture in that bin.
Ken Johnson:Commonly, people will add a handful of soil to their their worm bin, and this is going to add, this is going to introduce microorganisms that are going to aid in that composting process. It's not absolutely necessary if your ground is frozen, that may be hard to get that handful of soil, but it is something you can add to help speed up that decomposition process. So once you've got your bin set up, you've got your holes drilled in it, your screening put on there, you've got your bedding material in there, it's time to add some worms. And of the over 9,000 species of earthworms, only a handful have been found to be suitable for vermicomposting or worm composting, and the red wiggler is going be the most commonly used, and is considered by many people to be the best worm, the best worms to use. One of the reasons for this is that red wigglers like feeding on the surface of the soil, so they're more in the top couple inches of the soil when they're feeding, while the worms that we typically find in the gardens, or we typically think of, you know, maybe coming out on the sidewalks when we get heavy rain, things like nightcrawlers and stuff like that, a lot of those worms are going to burrow deeply into the soil, and they're not going to be good worms for vermicomposting indoors, because we don't have a really deep profile for them to tunnel in.
Ken Johnson:Most everything is going be on the surface. That's why red wigglers are widely considered to be the best worms for vermicomposting. For our 10 to 14 gallon bin, we want about a pound of worms, that's going be about 1,000 worms in that bin. And you can find these in a variety of places, you can find them online, sometimes you can find them in pet stores, sometimes bait shops will have them as well. So there's multiple places you can potentially find these.
Ken Johnson:Another advantage to red wigglers is they can produce pretty quickly. So if you have eight red wigglers, those eight worms can produce about 1,500 new worms in about six months under optimal conditions. And those optimal conditions are going be temperatures between fifty five and seventy five degrees, which is typically what our homes are going to be around, another reason they do well. They're going to need an aerobic environment, so we have oxygen in that media, that's why we want to keep that fluffed up, we don't want something that's going to compact too much. PH around seven.
Ken Johnson:And then again, that moist environment, but we don't want standing water. So again, a little bit more moist than a wrung out sponge is the ideal moisture amount for our bedding media. After we've added our worms to our bins, it's time to feed them. And they're gonna eat almost any fruit and vegetable scrap that you're gonna have in your kitchen. So things like potatoes, carrots, bananas, coffee grounds, even eggshells.
Ken Johnson:If you're doing eggshells, want to make sure you grind those up fairly well. It's gonna be quicker for them to break those down if they're in small pieces. One thing to avoid on the fruit and vegetable side is citrus. A lot of times they are not going to feed on them, they will avoid eating those and I've in the worm bins I've had, I've seen that. And we also just like composting outdoors, we do not want to feed worms meat, dairy products, or oily foods, they're not going to eat them and that food is just going to spoil.
Ken Johnson:So avoid putting those in your worm bin as well. Basically, we feed our worms as needed. Typically one pound of red wigglers can eat up to about two pounds of food scraps a week. So I kind of give you a rough idea of how much food you can potentially be putting in there. Chopping up your food into smaller pieces, or potentially cooking it before you feed the worms is going to help the worms break that down quicker.
Ken Johnson:It's going to be softer or smaller pieces, they're going to be able to break that down much more quickly. And this is especially helpful for vegetables with thick stalks, like things like broccoli or cauliflower, or even things like banana peels, chopping that up into smaller pieces helps them break that down and eat it quicker. One common complaint you hear about with worm bins is the presence of fruit flies. So sometimes you make too much food in there, the worms can't break it down as quickly, you may have fruit flies moving in. One way you can help prevent fruit flies is one not give your worms too much food, but also covering the food with paper.
Ken Johnson:Just get a sheet of newspaper moisten that. What I've done is I just cover the entire worm bin, and that helps restrict the fruit flies access to that food. If everything goes well with your worm bin, after about eight weeks, you can probably start harvesting those worm castings or that that worm compost. And there's a couple different ways that this is commonly going to be done. First is going to be the divide and sort method.
Ken Johnson:So you're going to stop feeding the worms, move all of the old bedding to one side of the bin, and add fresh bedding and food to the other side. The worms in that old bedding will then move over to that new bedding, and after several days there shouldn't be many, if any worms in that old stuff, you can then pull that out, use that as compost, top dress your house plants with that, so on and so forth. And then you can spread out that new bedding and fill that in more and keep your worms going. A second method, which isn't as popular, but is the live and let die option. So you just simply stop feeding the worms, eventually they're all going to die, and you can just harvest that compost as is.
Ken Johnson:Drawback is that you're gonna have to resort that that worm bin every time you do this. So the divide and sort method is probably the one most commonly used. And again, you can take that that worm compost, those worm castings, you can add that to garden soils in the spring, add it to raised beds, potted plants you have outside, you can add it to your potted plants inside, and that's going to be a good source of nutrients just like any compost for your plants. That's all I've got for you for this week's Gardenbite. The Good Growing podcast is a production of the University of Illinois Extension, edited this week by me Ken Johnson.
Ken Johnson:Thank you to our listeners for doing what you do best and that is listening. And as always, keep on growing.
Creators and Guests